How to Add New Pages or Edit Existing Ones
Create and manage pages with the WordPress Block Editor (Gutenberg) or a page builder like Elementor. Use these steps to add new pages, update existing content, and publish safely.
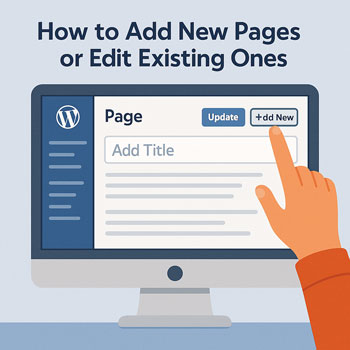
Add a New Page (Block Editor)
- Go to Pages → Add New.
- Title your page (e.g., “Services”). WordPress creates the URL slug from the title—click it to adjust if needed.
- Click the + to insert blocks: Paragraph, Heading, Image, Gallery, Buttons, Columns, List, etc.
- Use Patterns (pre-designed sections) or Reusable Blocks for repeated content like CTAs/testimonials.
- In the right sidebar (Settings): set Template (Default/Full Width), Featured image, Parent page (if nested), and Order (for manual menus).
- Click Preview (desktop/tablet/mobile), then Publish or Schedule.
Tip: Need a consistent layout? Start from a saved template or pattern to keep spacing, fonts, and buttons uniform.
Edit an Existing Page
- Go to Pages → All Pages → hover the page → click Edit (Block Editor) or Edit with Elementor if that page uses Elementor.
- Make edits, then click Update. Use Preview to check before updating.
- To safely experiment, click the three dots (⋯) → Copy to a new draft (or use a duplicate/clone plugin) and review before publishing.
- Restore a mistake via Revisions: Settings sidebar → Revisions → compare and Restore.
Workflow: Draft → Internal review (Preview link) → Approve → Publish or Schedule. Use Pending review for team approvals.
Using the Block Editor Efficiently
- Headings: Use H2 for section titles, H3 for subsections; keep one H1 (the page title).
- Columns: Create two/three-column layouts for features, pricing, or contact info.
- Media: Use Image, Gallery, Cover, Video. Add alt text for accessibility/SEO.
- Buttons & CTAs: Add a clear action (e.g., “Get a Quote”); link to contact or booking.
- Patterns: Insert prebuilt hero sections, FAQs, testimonials from Patterns for fast, consistent design.
- Styles: Use the Styles panel to keep colors/typography consistent across blocks.
If Your Site Uses Elementor
- Open the page → click Edit with Elementor.
- Use the left panel widgets (Heading, Text Editor, Image, Button, Form). Drag to the canvas, edit in place.
- Switch to Responsive Mode (desktop/tablet/mobile) and adjust margins/typography per device.
- Click Update. Use Navigator (layers panel) to select hidden/overlapping elements quickly.
Avoid mixing editors: Don’t build the same page with both Gutenberg and Elementor. Pick one to prevent layout conflicts.
Navigation & Menus
- Block Theme (Site Editor): Go to Appearance → Editor → edit your Navigation block; add your new page and save.
- Classic Theme: Go to Appearance → Menus → select the primary menu → check your new page → Add to Menu → drag to position → Save Menu.
- Update header/footer links or buttons that should point to the new page.
Page Settings & SEO
- Set URL slug, Featured image, and Excerpt (used by some themes).
- If you use an SEO plugin, edit SEO title, meta description, and social sharing (OG image).
- Pick the correct Template (Full Width/No Sidebar) for landing pages.
Visibility: Use Public, Private, or Password Protected. For work-in-progress use Draft or Noindex (via SEO plugin).
Final Checklist
- Spelling/grammar checked; headings structured (H2 → H3).
- Links, buttons, and forms work; phone/email are correct.
- Mobile spacing verified; no overlapping elements.
- Featured image/social preview look good on share.
- Added to primary navigation or footer menu where needed.
- Previewed and then Published or Scheduled.